How to Make Bone Broth (Instant Pot or Crock Pot)

By Hannah Healy
Updated June 22, 2023
This post may contain affiliate links. As an Amazon Associate I earn from qualifying purchases. Please read the disclosure policy.
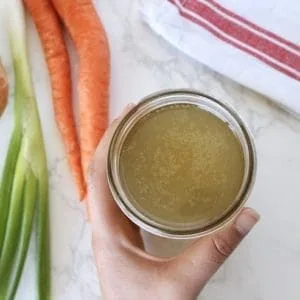
Learn how to make bone broth in the simplest way– in the pressure cooker (instant pot) or crock pot! This bone broth recipe is great just to sip on its own or to use in soups, stews, stir frys, curries, purees or making rice.
Learning how to make bone broth is a great way to invest in your health and save money, especially if you are on a paleo or keto diet. I like making bone broth in the instant pot because it only takes 2 hours (versus about 10 hours in a crock pot).
Health Benefits of Bone Broth
- Filled with beneficial vitamins, minerals and amino acids
- Collagen in bone broth supports joints (1)
- Gelatin in bone broth may reduce inflammation (2)
- Helps heal leaky gut and support the digestive system (3)
- Good for the skin (4)
- Supports the immune system (5)
- Glutathione present in bone broth supports the metabolism (6)
Why I use a Pressure Cooker (Instant Pot)
There are tons of uses for a pressure cooker. It can be used as a pressure cooker or a slow cooker. The main reason I got mine was to make bone broth! Usually, chicken bone broth takes about 10 hours in the crock pot, but the instant pot gets it done in just 2 hours!
I also use a pressure cooker for quick soup, meat dishes (without having to defrost the meat!), quick dinner dishes, hard boiled eggs, rice cooking, yogurt making, applesauce, quick mashed potatoes, and lots more!
What if the bone broth is not gelling?
You may have heard that the most nutrient dense broth is gelatinous (it will look like jello when it’s refrigerated). When it’s gelatinous, you know it’s full of collagen which is amazing for your skin, hair, nails and immune system.
But what if your broth is not gelling? When I first started making my own broth, I actually had the problem of it not gelling and it took me a while to figure out why. Here’s what I found…
1.Cooking it too long
I realized that I was cooking my chicken broth far too long and it was breaking down everything too much, so it ended up not gelling. For beef bones it’s appropriate to cook it for longer, but since chicken bones are smaller you only need to cook it in a crock pot for about 6-12 hours. I had been doing more like 24 hours.
2. Not using enough bones
For chicken broth, you should really be filling up the pot with bones. If you try making broth and it doesn’t gel, add more bones next time and it will likely gel!
3. Add chicken feet!
Chicken feet are a great source of collagen, so adding them to your pot will definitely help with making your broth gel. I know it sounds kinda creepy, but it won’t change the flavor at all.
How long does bone broth keep for?
Homemade bone broth will keep for a couple weeks in the refrigerator if it has the fat layer on top and about 6-12 months in the freezer. If the fat layer has been skimmed off the top it will last about 3-5 days in the refrigerator.
Recipes using bone broth:
Bone broth adds flavor and nutrients to a variety of recipes like soups, stews, stir frys, curries, purees or rice. Here are some great paleo recipes using nutrient dense bone broth…
How to Make Bone Broth (Pressure Cooker or Crock Pot):
First add the bones and other desired ingredients to the pot. You can add just bones or add flavor with onions, garlic, carrots and/or herbs. Add 1 tbsp of apple cider vinegar– this helps draw nutrients and collagen out of the bones. Fill with water to 1 inch below the fill line.
If using a pressure cooker or instant pot, secure the lid and make sure the vent is set to the sealed position.
For a pressure cooker or instant pot, set to manual for 120 minutes. If using a crock pot, place the lid on top and set to low and allow to cook for about 8-10 hours.
Once the bone broth is done, allow it to cool for about an hour before straining.

Place a strainer over a pot and strain the bones and vegetables out of the broth.
Put the broth into jars, leaving about 2 inches of room at the top of the jar. The broth will expand in the freezer, so this room at the top keeps the glass jars from breaking in the freezer. Before putting the broth jars into the freezer, allow it to cool to room temperature on the counter unsealed for a few hours. This will keep the jars from breaking in the freezer from extreme temperature changes.
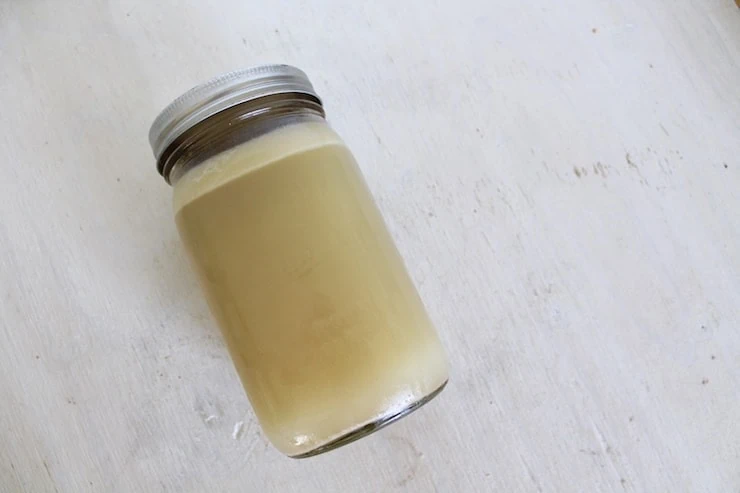
The fat will rise to the top of the jar after refrigeration, so you can skim it off easily and use it for cooking fat. The bone broth will keep for a couple weeks in the refrigerator if it has the fat layer on top and about 6-12 months in the freezer. If the fat layer has been skimmed off the top it will last about 3-5 days in the refrigerator.
How to Make Bone Broth (Instant Pot or Crock Pot)
Ingredients
- 2-4 lbs chicken bones (use leftover chicken carcass, feet, backs, necks, etc.)
- 3 carrots
- 3 cloves garlic
- 1 onion
- 1/2 tsp sea salt
- 1-2 tsp rosemary, thyme, sage, etc. (optional)
- 1 tbsp apple cider vinegar
- 4 liters purified water
Instructions
For Instant Pot:
- Chop the onions and carrots into large pieces.
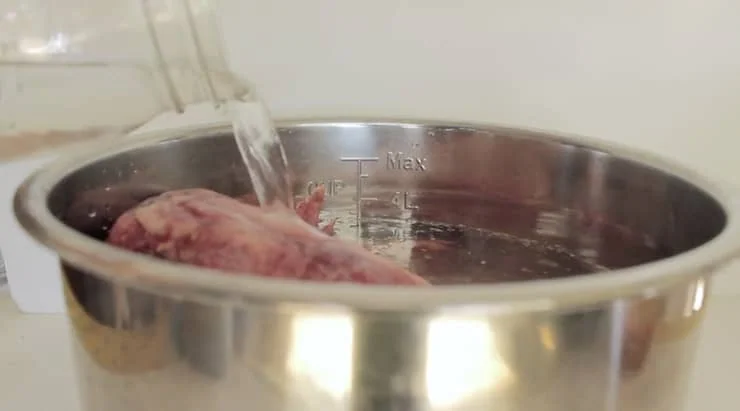
- Place all of the ingredients into the instant pot container. Fill the container with water until it is about 1/2 inch to 1 inch below the max fill line (it will rise a little bit as it cooks)
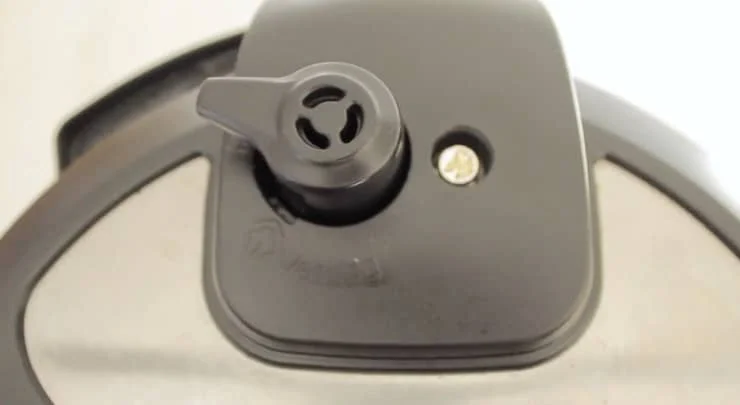
- Secure the top on the instant pot so that it’s locked. Make sure the vent at the top of the instant pot is set to sealed.
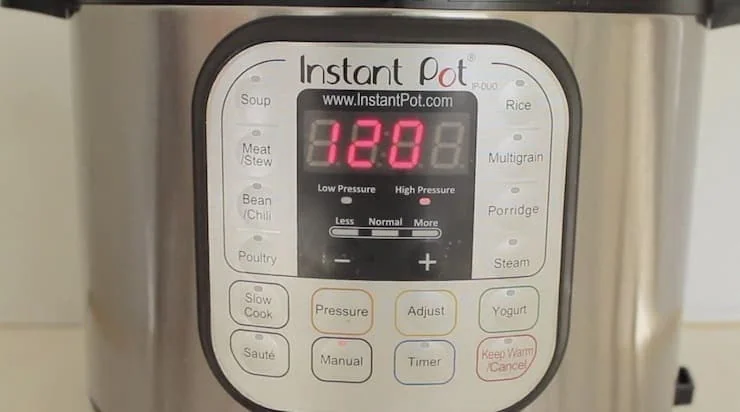
- Press the manual button on the instant pot and use the +/- buttons to get it to 120 minutes. The instant pot will then turn on automatically and pressure cook the broth.
- Once the time is up, the instant pot will beep and then automatically go to warm to keep it heated. At this point you can press the cancel button to turn it off. Then switch the vent at the top from sealed to venting to let the pressurized air out. Once there is no more air coming out of the vent you can unlock the top and open it up.
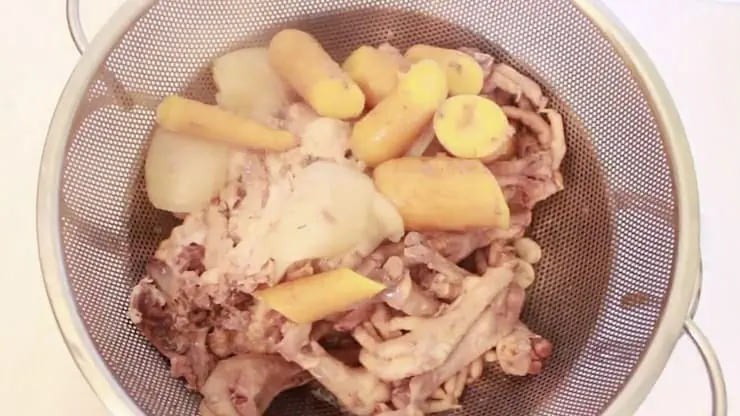
- Let it cool for a while until you can pick up the stainless steel pot to strain it.
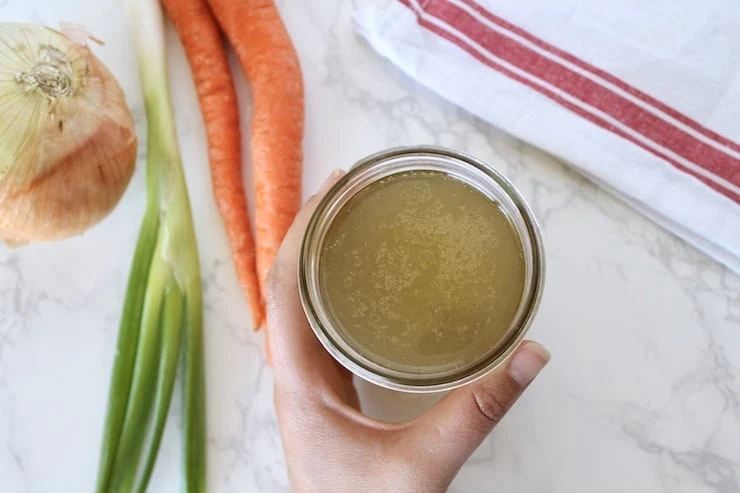
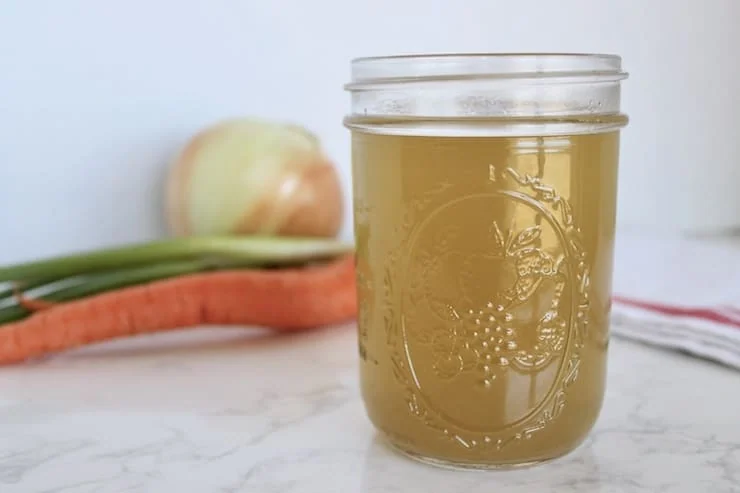
- Place a colander over a large pot and pour the contents into the strainer. Then portion the broth into jars with a ladle (you can further strain it if you want with a tea strainer, sifter or cheese cloth). Leave 1-2 inches of room at the top of the jar if you are going to freeze them since it expands when freezing.
- Do not put the hot broth jars in the freezer right away–the extreme temperatures will crack the glass. First, let the broth cool on the counter in the jars and once it has cooled completely, then you can freeze it.
- The fat will rise to the top of the jar after refrigeration, so you can skim it off easily.
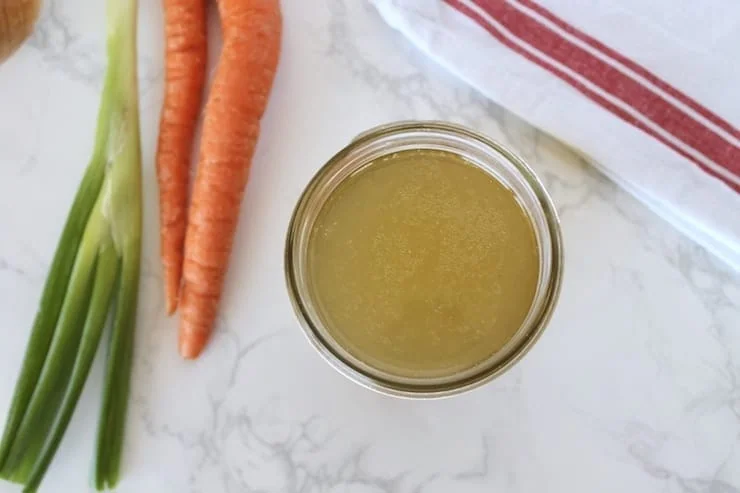
- The broth should be gelatinous like jello which is a good thing! That means there is gelatin and collagen in the broth which has a lot of health benefits. It will turn to liquid when you heat it.
For Crock Pot:
- Chop the onions and carrots into large pieces.
- Place all of the ingredients into the crock pot. Fill with water until it is about 1 inch below the top. Place the lid on.
- Cook on low for 10-12 hours.
- Once the time is up, let it cool a bit before jarring it.
- Once it has cooled a bit, place a strainer over the jar and ladle the contents into the jar. Leave 1-2 inches of room at the top of the jar if you are going to freeze them since it expands when freezing.
- Do not put the hot broth jars in the freezer right away–the extreme temperatures will crack the glass. First, let the broth cool on the counter in the jars and once it has cooled completely, then you can freeze it.
- The fat will rise to the top of the jar after refrigeration, so you can skim it off easily.
- The broth should be gelatinous like jello which is a good thing! That means there is gelatin and collagen in the broth which has a lot of health benefits. It will turn to liquid when you heat it.
Video
Notes
- Do not put the hot broth jars in the freezer right away–the extreme temperature change will crack the glass. First, let the broth cool on the counter in the jars and once it has cooled completely, then you can freeze it.
- Leave 1-2 inches of room at the top of the jar if you are going to freeze them since it expands when freezing.
- The fat will rise to the top of the jar after refrigeration, so you can skim it off easily and use it for cooking fat.
- The broth should be gelatinous like jello which is a good thing! That means there is gelatin and collagen in the broth which has a lot of health benefits. It will turn to liquid when you heat it. If your broth does not gel, check the tips above in this post to troubleshoot.
- The bone broth will keep for a couple weeks in the refrigerator if it has the fat layer on top and about 6-12 months in the freezer. If the fat layer has been skimmed off the top it will last about 3-5 days in the refrigerator.
- This recipe will make make about four 1-quart sized jars which is about 12-16 cups total. Each serving is 1 cup.