Healy Eats Real

Healthy Gluten-Free Sugar-Free Living

  • Home
  • Search
  • About
    • About Me
    • Work With Me
    • Contact
    • Disclaimer
    • Privacy Policy
    • Cookie Policy
  • Recipes
  • Wellness
    • Wellness Articles
  • Free Quit Sugar Guide
  • My Books
    • Ultimate Paleo Cookbook
    • Sugar Free Paleo Desserts
    • Decadent Paleo Desserts
    • Paleo Vegan Desserts
    • Gluten Free Vegetarian
Home » Breads » How to Make Sprouted Brown Rice Flour

How to Make Sprouted Brown Rice Flour

June 26, 2013 by Hannah Healy, Updated June 28, 2018 15 Comments

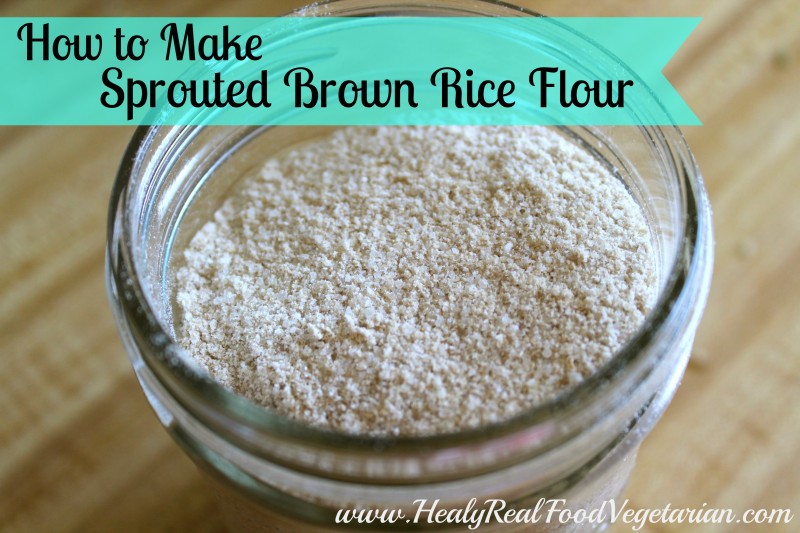
a close up shot of sprouted brown rice flour
Learn how to make sprouted brown rice flour at home. With simple step by step instructions you can make your own gluten free flour, full of nutrients and great for so many uses and recipes.
Total Time: 1 day 20 minutes
Jump to RecipePrint Recipe
Pin204
Share24
Yum
Tweet
228 Shares

Learn how to make sprouted brown rice flour at home. With simple step by step instructions you can make your own gluten free flour, full of nutrients and great for so many uses and recipes.

A close up of sprouted brown rice flour in a mason jar

Why Make Sprouted Brown Rice Flour?

Apart from the added nutritional benefits to sprouted grains and legumes, sprouting also cuts down on phytic acid- an enzyme inhibitor that can block the absorption of key vitamins and minerals. Brown rice has also been found to contain arsenic (read more here) and sprouting can decrease the levels of arsenic.

Sprouting and soaking grains, legumes, nuts and seeds was a common traditional practice long ago, but since the development of processed and convenience foods, it has lost it’s popularity since you have to take time and patience to sprout or soak.

Even though sprouting or soaking can take 12-36 hours, it’s mostly a “set-it-and-forget-it” pursuit. You don’t need to be in the kitchen for 12 hours watching your grains soak. You can set them up to soak or sprout and generally leave them for a long while, only coming back to quickly rinse the sprouting grains every few hours.
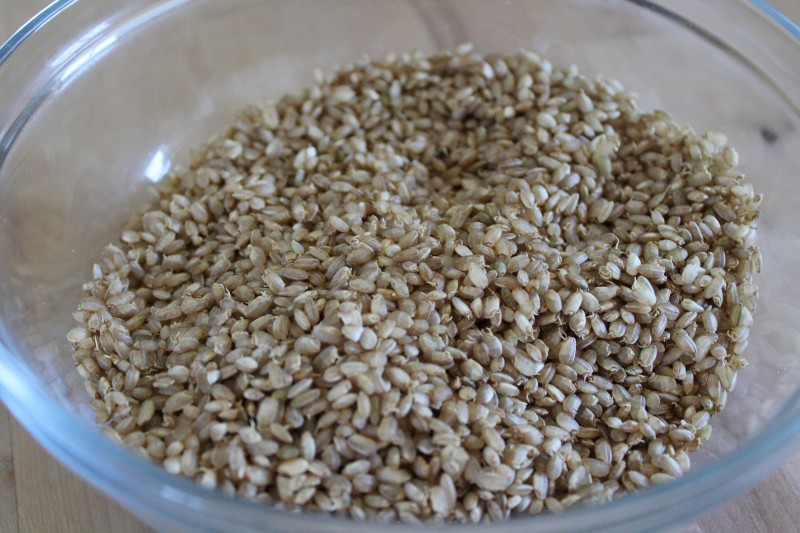
A close up shot of brown rice in a bowl used to make sprouted brown rice flour

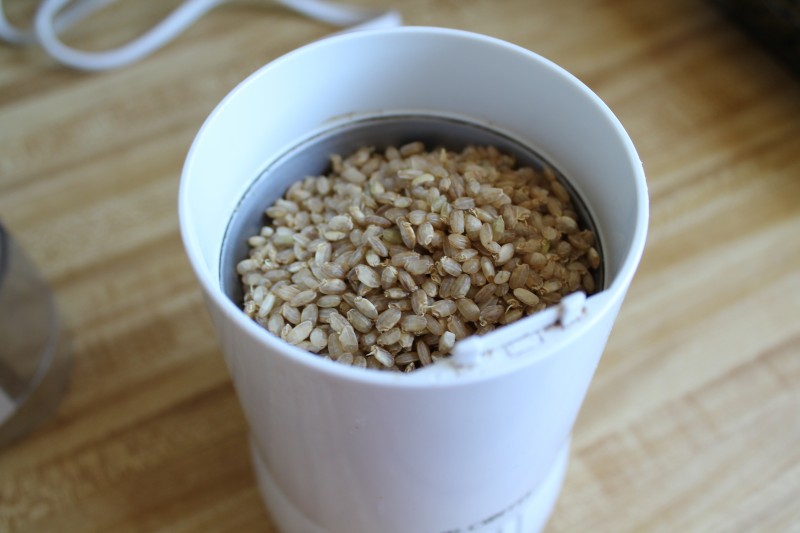
A photo of sprouted brown rice flour in a coffee grinder to make sprouted brown rice flour

Soaking And Sprouting Grains

As it turns out, there’s a reason that the traditional practice of soaking and sprouting was so prevalent and spanned many continents and cultures. It has many nutritional benefits.

Sprouting is a process that germinates grains, seeds or legumes which in turn makes them more easily digested and produces additional vitamins and minerals including vitamin C, vitamin B and Carotene.

Another benefit to sprouting and soaking is the resulting decrease in phytic acid. Phytic acid is an enzyme inhibitor, which means that it blocks the absorption of vitamins and minerals and can also cause poor digestion and an unhealthy gut.

This may explain why many people feel bloated, gassy or intolerant of beans and grains. Some people who believe that they are gluten intolerant actually do quite well with properly sprouted grains. (If you do have grain allergies or gluten intolerance please consult your health practitioner before attempting to consume sprouted or soaked grains and do so with caution.)
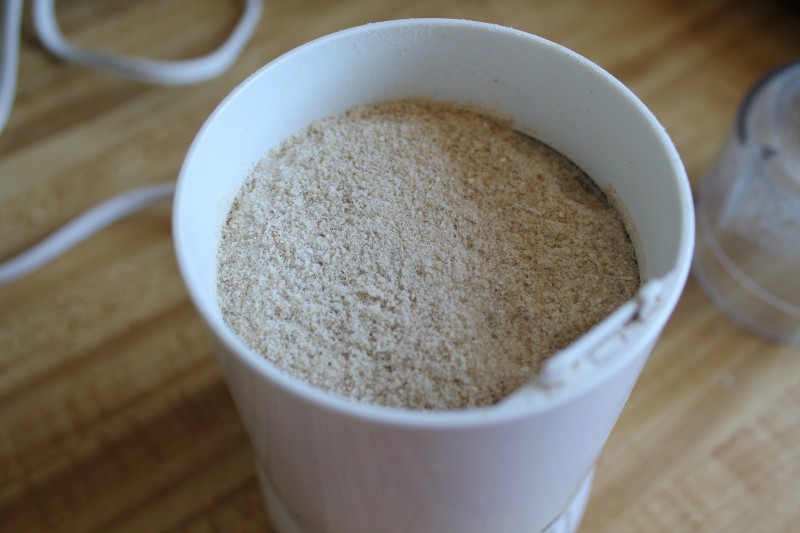
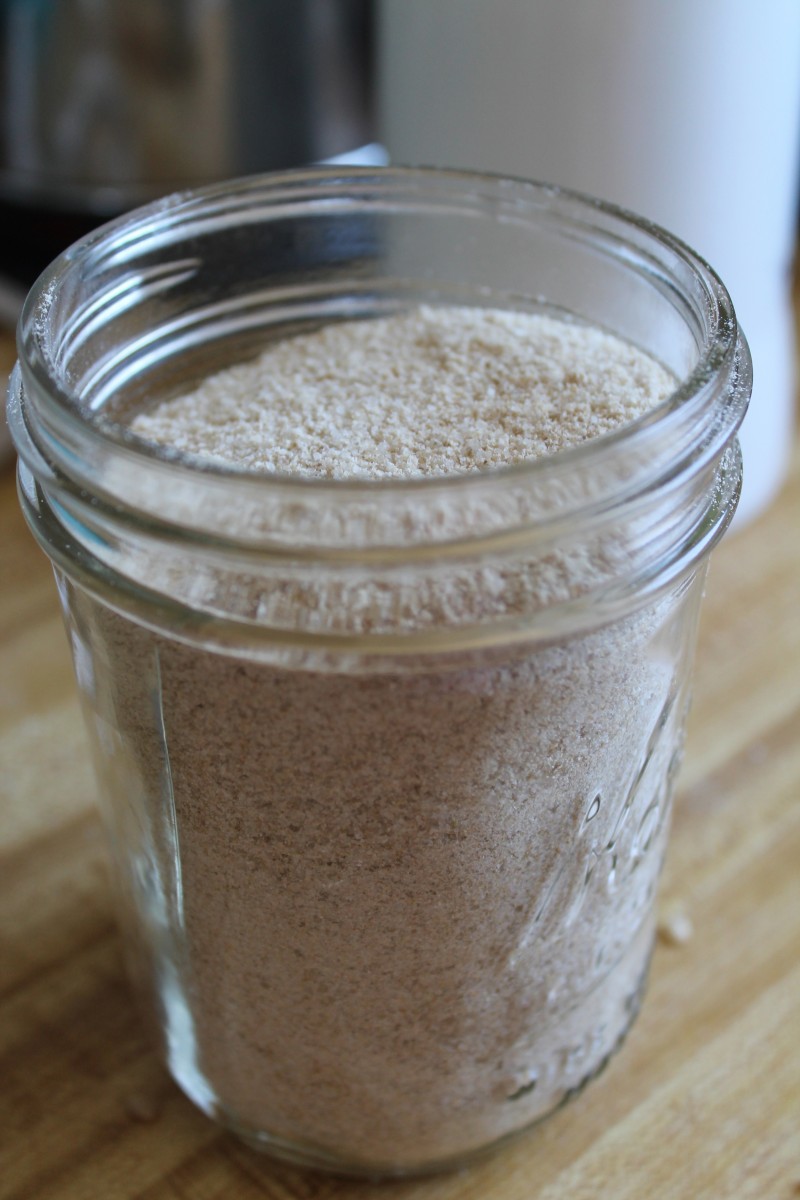
A photo of sprouted brown rice flour in a grain mill

A photo of sprouted brown rice flour in a mason jar

Some have even linked phytic acid and improperly prepared grains to the rise in tooth decay. If you do eat grains, it’s best to soak or sprout them first.

The way that you sprout any grain, seed or legume is the same, only the amount of time you sprout it changes. You can also check out my post on how to sprout red lentils or how to sprout quinoa.

For the reasons stated above, I almost never consume grains without sprouting or soaking them first. A lot of gluten-free store bought foods contain rice flours that might be hard to digest and may contribute to an unhealthy gut because of phytic acid.

Have you tried this recipe for How To Make Sprouted Brown Rice Flour? Don’t forget to rate the recipe and leave me a comment below. You can also follow me on Facebook, Twitter, Instagram, Pinterest and YouTube.
3 from 3 votes
a close up shot of sprouted brown rice flour
Print
How to make sprouted brown rice flour:
Prep Time
20 mins
Cook Time
1 d
rice prep
2 d 4 hrs
Total Time
1 d 20 mins
 
Learn how to make sprouted brown rice flour at home. With simple step by step instructions you can make your own gluten free flour, full of nutrients and great for so many uses and recipes.
Course: baking
Cuisine: American
Keyword: how to make rice flour, sprouted rice
Servings: 1 large batch
Calories: 687 kcal
Author: Hannah Healy
Ingredients
Equipment and Supplies:
  • 1 quart mason jar
  • Sprouting lid
  • Dehydrator
  • Coffee grinder OR grain mill that can grind rice*
To Make The Rice Flour
  • 3 cups filtered water
  • 1 cup brown rice
Instructions
Sprouting the rice:
  1. Put 1 cup of rice in a jar and fit with the sprouting lid. Pour water in the jar and rinse the rice and pour out the water. Then, fill the jar to the top with filtered water. Let soak overnight or for at least 6 hours.
  2. After the rice has soaked, pour out the water and rest the jar upside down over a bowl or dish so it is allowed to drain. Every 3-6 hours, rinse the rice, pour off the water and place upside down so it can drain. The rice will sprout within 2-3 days. You will notice sprouts coming from the rice.
Making rice flour:
  1. Place the sprouted rice in a dehydrator and allow the rice to dry completely. I set my dehydrator at about 125°F and let it run overnight.

  2. Once the rice is dry, place small batches in a coffee grinder and grind it until it resembles flour. Pour the flour into a mason jar and continue grinding small batches until the rice is gone. Keep the rice flour in the fridge to keep it fresh.
Recipe Notes
  • A coffee grinder will work fine to make rice flour, but you can only work with small batches.
  • If you often use sprouted brown rice flour and are serious about consistently making your own, you may want to consider investing in a grain mill.
  • As you can see there is a lot involved in the process of making your own sprouted brown rice flour. For many real foodies or people on a traditional diet, this may not be an issue, because a lot of you may already have most of these supplies like a dehydrator and grain mill.
Nutrition Facts
How to make sprouted brown rice flour:
Amount Per Serving
Calories 687 Calories from Fat 45
% Daily Value*
Fat 5g8%
Saturated Fat 1g6%
Sodium 45mg2%
Potassium 509mg15%
Carbohydrates 144g48%
Fiber 6g25%
Protein 14g28%
Calcium 85mg9%
Iron 3.4mg19%
* Percent Daily Values are based on a 2000 calorie diet.
Pin204
Share24
Yum
Tweet
228 Shares

Filed Under: Breads, Gluten Free, Healthy Tips, Tutorials, Vegan Tagged With: brown rice flour, how to sprout, soaking, sprouted brown rice flour, sprouting

FREE "6 Easy Tips to Quit Sugar" Guide!

By submitting your name and email you are consenting to receive a free copy of "6 Easy Tips to Quit Sugar" as well as regular newsletter emails from Healy Eats Real including information about our products and special offers. You can unsubscribe at any time.

Success! Now check your email to confirm your subscription. If you don't see it, check your spam folder or "promotions" folder on gmail.

There was an error submitting your subscription. Please try again.

Powered by ConvertKit

Some of the links in this post are affiliate links, which means that I may receive a commission if you purchase something mentioned in this post. See more details here. As an Amazon Associate I earn from qualifying purchases.

Information and statements regarding health claims on this blog have not been evaluated by the Food and Drug Administration and are not intended to diagnose, treat, cure, or prevent any disease.

Hi, I’m Hannah Healy!

woman with black hair standing over cutting board with vegetablesI created Healy Eats Real to share healthy gluten-free, sugar-free, keto recipes and tips on healthy living. Sign up for my newsletter below for recipes, natural health info and my FREE Quit Sugar Ebook!

FREE "6 Easy Tips to Quit Sugar" Guide!

By submitting your name and email you are consenting to receive a free copy of "6 Easy Tips to Quit Sugar" as well as regular newsletter emails from Healy Eats Real including information about our products and special offers. You can unsubscribe at any time.

Success! Now check your email to confirm your subscription. If you don't see it, check your spam folder or "promotions" folder on gmail.

There was an error submitting your subscription. Please try again.

Powered by ConvertKit

Popular Posts

Why I Stopped Being Vegetarian After 11 Years

Why You Should Never Use Canned Tomatoes

10 Ways to Use Apple Cider Vinegar

Recent Posts

Rich Chocolate Cream Pie Recipe (Vegan, Keto & Paleo)

3 Health Benefits of Quercetin*

Best Vitamins to Support Healthy Cortisol Balance† for Stress Resistance^, Energy & Mood*

Featured

Close up shot of a white mug filled with chocolate cake drizzled with peanut butter on a white marble surface next to a pink and white striped dish towel

Chocolate Protein Mug Cake in 2 Minutes (Keto & GF)

Collage of different healthy paleo pumpkin recipes

70+ Healthy Pumpkin Recipes (Paleo & Gluten Free)

Overhead view of whole apple cake with arranged apple slices on top on a white plate with an apple in the background next to red and white plaid dish towel

Healthy Apple Cake (Paleo, Low Carb & Sugar Free)

Popular

Slices of keto bread with slabs of butter on them on white plate next to loaf with slices out of it on wooden cutting board

Easy Almond Flax Keto Bread Recipe with Crunchy Crust! (Paleo & GF)

One paleo biscuit cut in half with butter and jam on it on a white plate

Southern Style Fluffy Paleo Biscuits (Keto & Low Carb)

Paleo Pizza (AIP, Low-FODMAP)

Copyright © 2023 · Healy Eats Real · Privacy Policy